Piercing Academy → Piercing Care → How to Use Horseshoe Rings
Learn how to identify a horseshoe-style circular barbell, determine how its ends attach, remove and secure a known compatible end, and recognize when fit or resistance needs professional help.
Quick answer
A horseshoe ring is usually a circular barbell: an open arc with an end at each side. Many have threaded ends that loosen counterclockwise and tighten clockwise when viewed directly from that end; other versions are threadless or have a fixed end. Identify the mechanism before turning anything, stabilize the jewelry, use hand pressure only and never force it through a channel. A healing, irritated, embedded, inaccessible or uncertain piercing belongs with a qualified professional piercer.
General education only: Jewelry construction, anatomy, placement, fit and healing vary. This guide does not decide whether a horseshoe ring suits a particular piercing or person. Ask a qualified professional piercer to identify the system, select dimensions and handle any new or healing piercing. Seek medical advice for symptoms that may indicate infection, an allergic reaction or another health concern.
In this guide
- Understand what a horseshoe ring is
- Identify the end system before turning it
- Decide whether to handle it at home
- Remove a known compatible end
- Guide the circular bar through a healed channel
- Attach and check the end
- Troubleshoot loose or resistant ends
- Know when to ask a professional
- Frequently asked questions
Understand what a horseshoe ring is
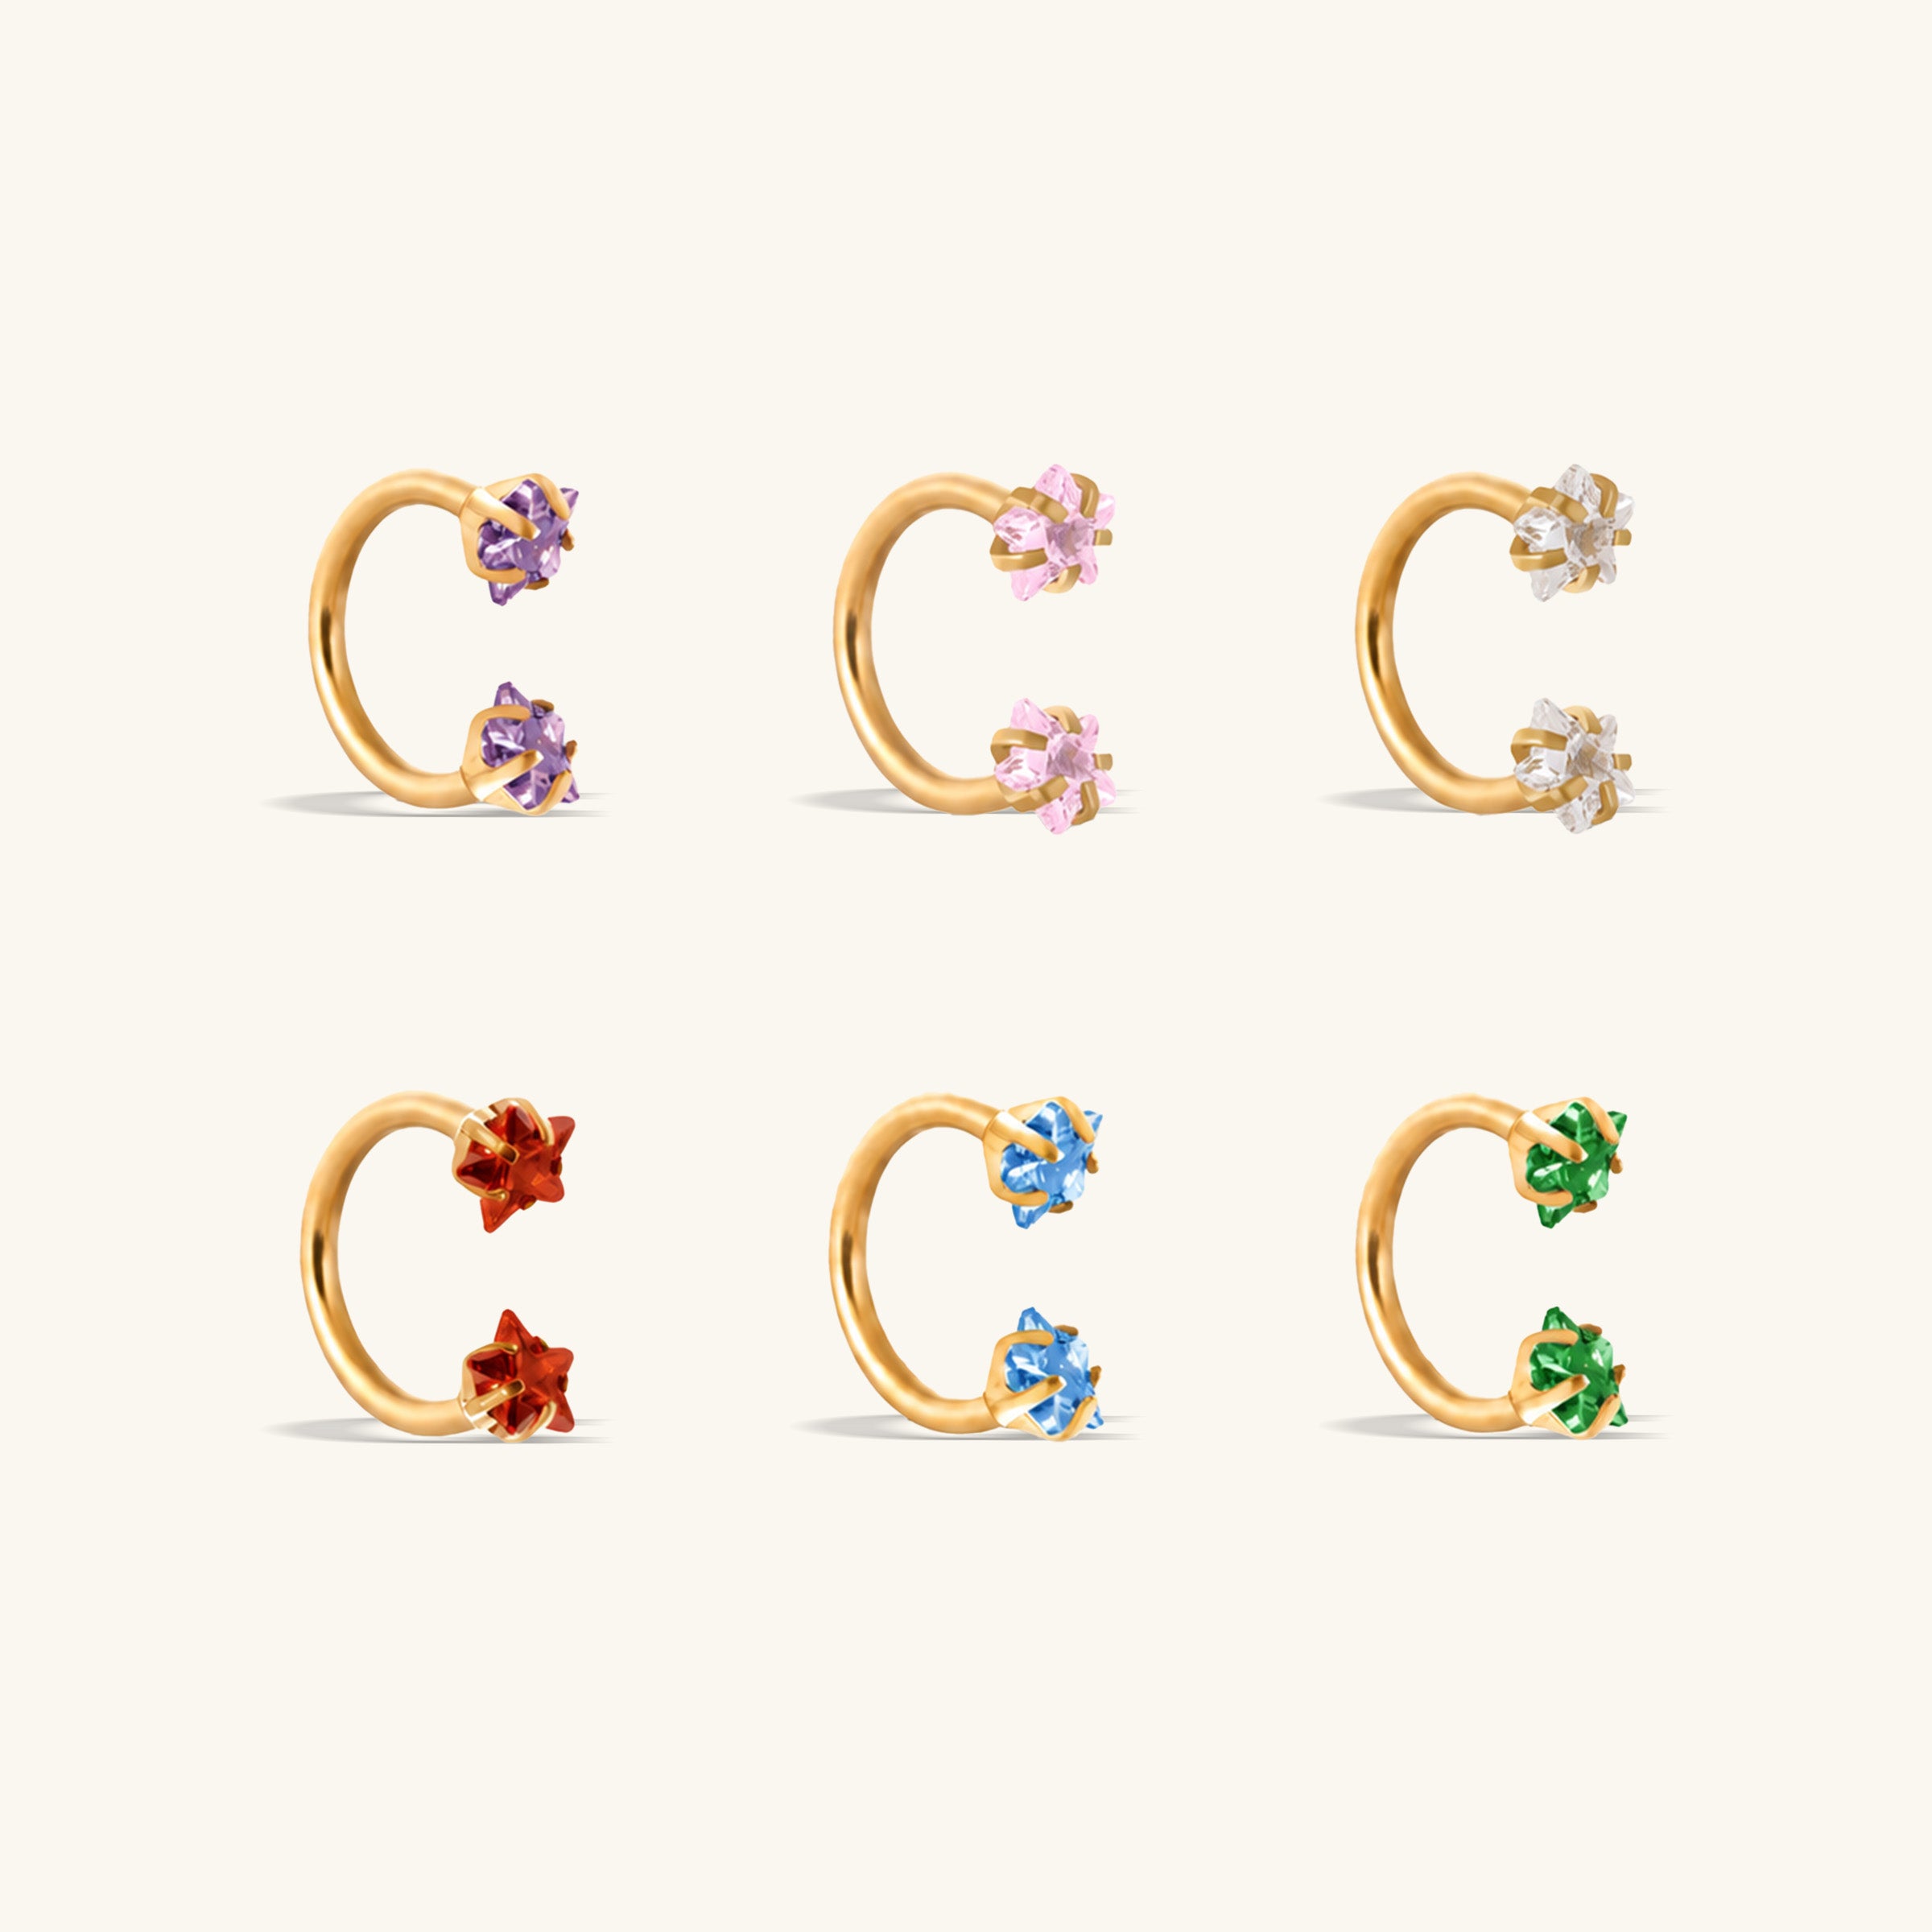
Horseshoe ring is a common retail name for a circular barbell. Instead of forming a closed circle, the shaft follows an open arc and usually carries a ball, cone, disc or decorative end at each opening. The ends help keep the curved shaft in place; they are not captive beads held by ring tension.
Similar circular barbells may differ in:
- gauge, which is the shaft thickness;
- inner diameter and curvature;
- end size, weight and shape;
- fixed, threaded or threadless construction;
- thread diameter or pitch, material, finish and manufacturer compatibility.
The main arc is not pulled apart; access normally comes from removing an end.
The APP advises that jewelry style, gauge and diameter must suit anatomy and placement. A ring comfortable in one established piercing may press, rotate or snag in another. Placement suitability and initial jewelry are professional fitting decisions.
Identify the end system before turning it
Examine a loose matching piece or use bright light and a mirror. Do not keep twisting an installed end to discover how it works.
Internally threaded
The removable end has a small threaded stem that screws into a hollow opening in the bar. The portion of the bar that passes through tissue is smooth. The APP includes internally threaded construction in its initial-jewelry guidance when the complete piece meets the other size, material, finish and quality requirements.
Externally threaded
The screw thread is cut on the outside of the bar, and the end has the hollow threaded opening. That exposed texture may pass through tissue during insertion or removal. Do not use this Article to guide an externally threaded shaft through a piercing; ask a piercer to assess the jewelry and replacement.
Threadless or press-fit
A pin on the removable end fits inside a hollow bar and is held by tension rather than screw threads. It pulls apart and presses together; it should not be repeatedly twisted as though it were threaded. Manufacturer systems vary. NeoMetal, for example, documents different tension preparation for its curved and circular posts, which is why pin adjustment belongs to the specific manufacturer's instructions or a piercer.
Fixed versus removable ends
One end may be fixed, both may be removable, or decoration may hide the moving part. Never assume both ends unscrew.
Decide whether to handle it at home
Customer-led removal or insertion is limited to a fully healed, settled, accessible piercing with a known compatible replacement. Before starting, confirm that:
- there is no ongoing tenderness, swelling, discharge or crusting;
- you can see and hold both ends without pulling the tissue;
- the existing and replacement gauge, diameter and style are known;
- the replacement end belongs to that post or has verified compatibility;
- the jewelry has been cleaned appropriately and your hands and work area are clean;
- you can keep the channel occupied, because healed piercings may shrink quickly.
Do not treat a minimum healing time as proof of readiness. Do not change jewelry to diagnose swelling, a bump, pain or discharge. If a change is necessary during healing, it should be selected and performed by a qualified piercer.
Work over a clean tray or towel and cover any drain. Dry hands or clean examination gloves may improve grip, but they do not replace correct identification. Tools, delicate tissue and hard-to-reach channels belong with a piercer.
Remove a known compatible end
For a confirmed threaded circular barbell in a settled piercing:
- Stabilize the shaft or the opposite end without squeezing the tissue.
- Look directly at the end you intend to remove. Turn that end counterclockwise from your viewing direction to loosen it.
- Use small, controlled turns. Keep the end aligned with the opening rather than bending it sideways.
- Once loose, finish over the tray and keep the component separate from the replacement.
For a confirmed threadless end, support the bar and pull the end straight away using the maker's handling method. A slight controlled rocking or twisting motion may be part of some manufacturer instructions, but do not bend, tune or reshape an installed pin by trial and error. If it does not separate with familiar hand pressure, ask a piercer.
Do not clamp a stone or use glue, thread-locker or household lubricant. An end that will not release cleanly needs professional assessment.
Guide the circular bar through a healed channel
Only proceed when the piercing is fully healed, the opening is easy to access and the shaft is smooth.
- Remove the confirmed movable end and inspect the exposed bar. Stop if it has a burr, damaged thread, residue or sharp edge.
- Bring the smooth end to the established channel. Do not use the tip to search for an opening.
- Follow the shaft's natural arc through the existing path with light, controlled movement.
- Keep the remaining end from levering against nearby tissue.
- Stop immediately with resistance, pain, bleeding or swelling.
Never force the curve straight through tissue or use the bar to stretch a tighter channel. If the piercing has begun to shrink, a piercer may be able to use appropriate insertion equipment. Do not improvise with the exposed thread, a household object or a thinner random piece.
An open circular bar can rotate unexpectedly as it follows its curve. If the location is difficult to see, close to an airway, inside the mouth or otherwise sensitive, this general at-home sequence is not appropriate. Use a qualified professional.
Attach and check the end
For a confirmed threaded end:
- Keep the bar stable and place the end squarely against the opening.
- Turn it gently clockwise, as viewed directly from that end.
- If it does not engage smoothly in the first turns, reverse and restart. Do not force misaligned threads.
- Tighten with clean fingers until the end is seated and stable. Do not use excessive torque.
- Check for an unexpected gap, tilt or wobble between the end and bar.
Cross-threading begins at the wrong angle. Gritty resistance, a crooked end, early stopping or unexpected exposed thread means stop instead of tightening harder.
For a known threadless system, align the correct pin with the correct opening and press it home according to the manufacturer's system. Retention comes from calibrated tension, not screw torque. If the end is loose, the correct response may be manufacturer-specific pin adjustment or replacement; that should be performed only after identifying the exact system, preferably by a piercer.
After attachment, confirm that both ends have clearance and do not press, embed or pull the channel. Overtightening cannot correct poor fit.
Troubleshoot loose or resistant ends
The ball will not unscrew or start
Improve dry grip without pulling tissue and confirm the mechanism and viewing direction. A resistant end may be fixed, threadless, overtightened, dirty, damaged or incompatible. Cross-brand pieces do not become interchangeable merely because their gauge labels match. Do not grind, file or force them; ask a piercer.
The end keeps loosening
The APP recommends checking threaded ends for tightness with clean hands and notes that repeated loosening can indicate a defective piece. Confirm complete seating without over-tightening, then have the thread and end inspected. Adhesive is not an appropriate fix for body jewelry.
The end is lost
Do not substitute an unverified ball or leave a sharp open shaft exposed. Contact a piercer promptly for a compatible end or replacement.
The bar passes but the ends press into tissue
That is a fit problem, not a closure problem. End size, diameter, anatomy, angle and movement all matter. Remove the new piece only if removal is easy and the original known jewelry can be replaced without force; otherwise ask a piercer to manage the change.
Know when to ask a professional
Ask a qualified professional piercer
Use professional help when the piercing is new, healing, irritated, embedded, difficult to see or quick to shrink; when the closure type, gauge, diameter or end compatibility is unknown; when a component is fixed, stuck, loose, damaged or cross-threaded; when tools appear necessary; or when insertion produces resistance, pain, bleeding or swelling.
A piercer can identify the actual construction, determine which end moves, verify thread or pin compatibility, protect the jewelry surface, preserve the channel and assess whether the circular shape and ends suit the placement. This Article cannot replace those observations.
Seek medical advice
Seek prompt healthcare advice for increasing pain, heat, marked swelling, spreading redness or darkening, bleeding or pus, fever, chills or feeling unwell. Do not treat those changes as proof that an end merely needs tightening or that the jewelry should be removed.
If infection is suspected, NHS guidance says to leave the jewelry in unless a doctor tells you to take it out. Severe or rapidly worsening symptoms require local urgent or emergency care.
Frequently asked questions
Is a horseshoe ring the same as a circular barbell?
Usually, yes: horseshoe describes the open circular-barbell silhouette. Confirm the actual end and closure construction, because the common name does not say whether an end is threaded, threadless, fixed or compatible with another component.
Do both balls unscrew?
Sometimes both are removable, sometimes only one moves, and threadless models may pull apart rather than unscrew. Do not apply more torque to prove that an end is fixed. Check the product specification or ask a piercer.
Which direction loosens a threaded ball?
For a conventional right-hand thread, turn the removable end counterclockwise while looking directly at that end. Perspective changes what the hand motion looks like from the other side. Stop if the end does not respond to gentle, controlled pressure.
Can I use any replacement ball with the same gauge?
No. Gauge alone does not establish thread diameter, pitch, pin size, counterbore, material or manufacturer compatibility. Use a component documented for the specific post or have a piercer verify the combination.
Can I put a horseshoe ring in a healing piercing myself?
No customer-led healing-stage change is provided here. Placement, shape, diameter, end size and healing condition require professional assessment. If a change is necessary, let a qualified piercer perform it.
How tight should a threaded end be?
It should seat fully and remain stable under normal wear using controlled hand tightening. It should not be forced, cross-threaded or tightened with excessive tool torque. Repeated loosening or a visible gap needs inspection.
Keep learning
- Review the Academy overview of piercing-jewelry closures
- Learn how fit, construction and healing stage affect jewelry choice
- Understand when a piercing may be ready for decorative jewelry
- Read conservative cleaning and aftercare guidance
- Return to the OUMO Piercing Academy
Last evidence check: September 8, 2026
Sources: Association of Professional Piercers — Jewelry for Healed Piercings; Association of Professional Piercers — Jewelry for Initial Piercings; NeoMetal — Threadless Pin Bending Guide; NHS — Infected piercings.
Evidence scope: APP guidance supports threaded/press-fit identification, conventional threaded-end direction, smooth-surface and fit principles, and healed-jewelry boundaries. NeoMetal is cited only to show that its own threadless curved/circular products use manufacturer-specific pin preparation; it does not establish a universal method. NHS supports the suspected-infection boundary. Product construction, compatibility, dimensions and placement suitability must be assessed for the specific jewelry and piercing.