Article: How to Transition from Healing Jewelry to Decorative Jewelry?
How to Transition from Healing Jewelry to Decorative Jewelry?
From “Just Got Pierced” to “Fully Snatched” — Here’s How to Switch Safely Without the Ouch
So you’ve survived the healing phase—congrats! 🎉 That means no more saline soaks twice a day, no more accidental snags that make your soul leave your body, and maybe, just maybe, you’re finally free to swap out that plain ol’ stud for something with a little personality. But wait—before you dive headfirst into your jewelry stash, let’s talk about how to make the switch safely.
🧪 Step 1: Is Your Piercing Actually Healed?
Just because it “feels fine” doesn’t mean it’s ready for a makeover. A truly healed piercing:
-
Doesn’t feel tender or sore
-
Moves freely without resistance
-
Has no redness, swelling, or discharge
-
Has gone through the full healing time (which can be months, not weeks)
|
Piercing Type |
Avg. Healing Time |
|---|---|
|
Earlobe |
6–8 weeks |
|
Helix |
6–12 months |
|
Conch |
9–12 months |
|
Tragus |
6–12 months |
👉 Pro tip: If it still crusts… it’s not time. Trust the process. Your future self (and your ear) will thank you.
🧼 Step 2: Why Healing Jewelry is Boring on Purpose
Let’s be real—healing jewelry isn’t exactly giving ✨style icon✨. But it’s built to be safe, not sexy:
-
Implant-grade titanium or surgical steel
-
Extra length to accommodate swelling
-
Minimal friction, no textures or dangles
Decorative jewelry? Often shorter, tighter, heavier—and not great for a still-sensitive piercing. That’s why the switch needs to be strategic.
P.S. If you’re still in the healing stage but want something less blah, we’ve got minimalist titanium pieces designed just for this transition phase—flatback, internally threaded, and super cute without sacrificing safety. 🌸
🔄 Step 3: The Right Way to Make the Swap
When you’re ready, here’s how to do it safely:
-
Clean hands like you’re about to perform surgery.
-
Clean your new jewelry with saline or a gentle cleanser.
-
Gently remove the healing jewelry only if the piercing feels 100% fine.
-
Insert the new piece slowly. If it resists or hurts—stop.
-
Continue aftercare for a few days post-swap (just in case).
Still unsure? Book a quick check-up with your piercer—they can swap it for you and give the all-clear. It’s like going to the salon, but for your cartilage.
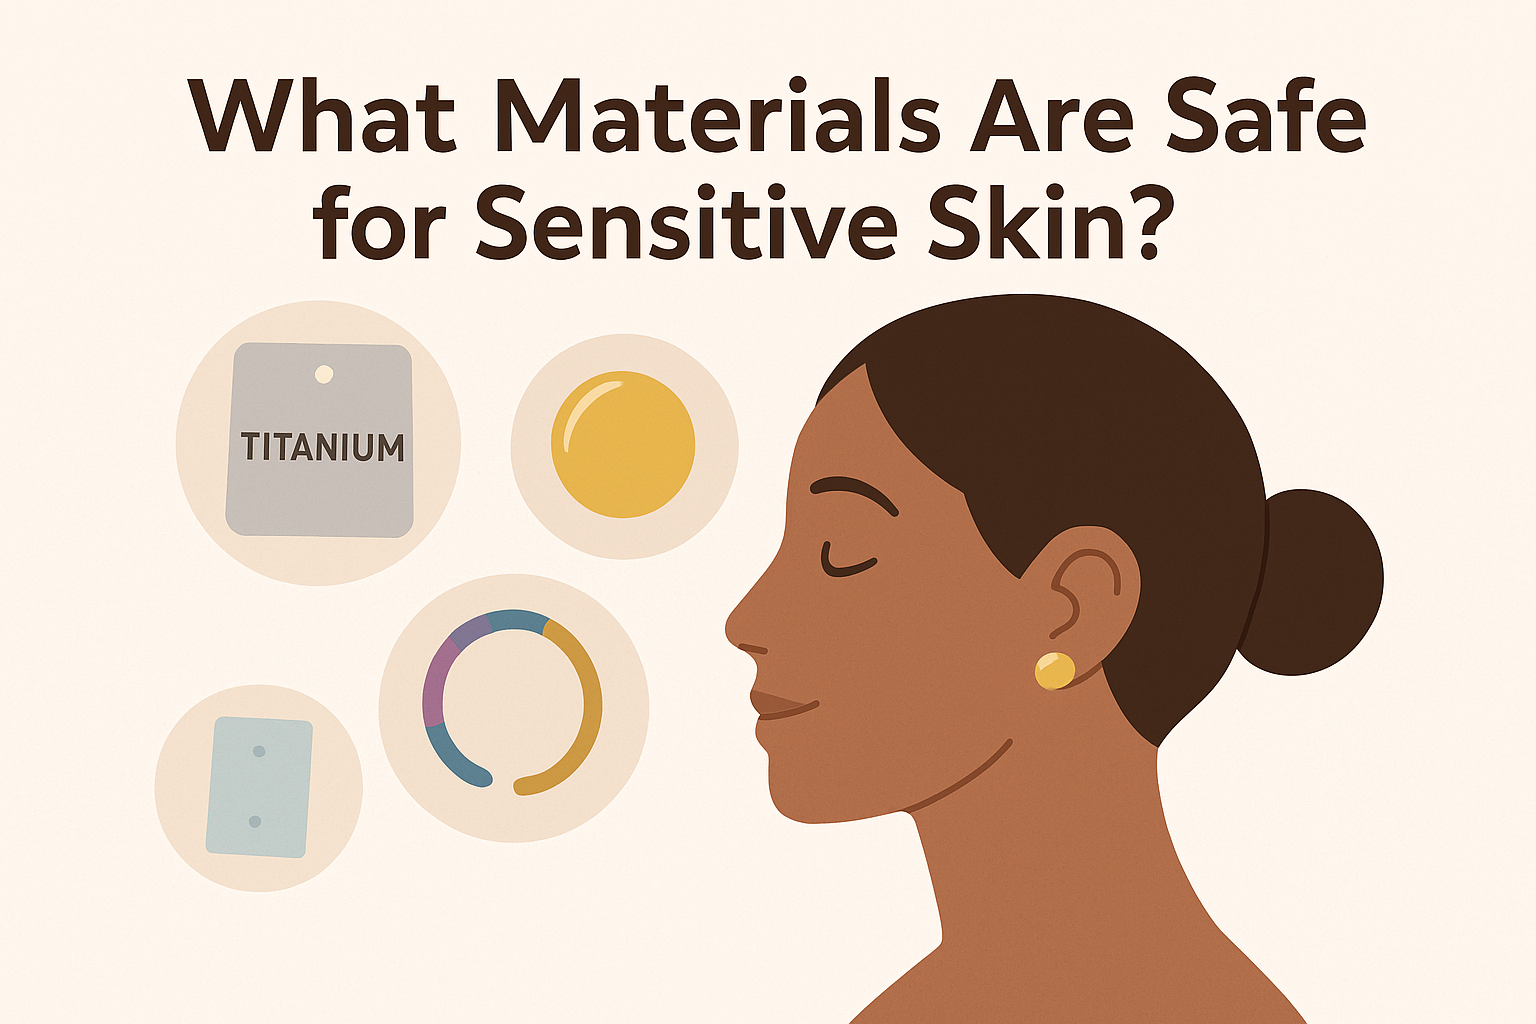
🌟 Step 4: Pick Smart, Stylish Jewelry
Decorative ≠ dangerous. You can have both beauty and biocompatibility. Here’s what we recommend (and carry 💅):
-
Implant-grade titanium – lightweight, hypoallergenic, available in flatback post or ball back post
-
316L stainless steel – super durable with gorgeous finishes
-
Threadless or internal thread designs – smooth on your skin, easy to change
-
Flatbacks – especially for cartilage piercings (say goodbye to pokey backs!)
From dainty opal ends to celestial charms and mini gem clusters—we’ve got the kind of pieces that feel like jewelry, not medical gear.
✨ Ready to upgrade? Explore our Titanium Collection and Stainless Steel Beauties – handpicked for healed (and healing) piercings alike.
👂 Step 5: Take It Slow (Ear Party Later)
We get it—you want the full curated ear now. But do one piercing at a time.
Let each one adjust to the new jewelry, especially if you’re still in the 6–12 month post-piercing window. Going full sparkle all at once might look cute… until it hurts.
💡 Final Thoughts
Swapping from healing to decorative jewelry is a rite of passage—and when done right, it’s the start of your personal piercing era. Whether you’re into minimalist gold studs or bold, cosmic hoops, there’s a safe way to glam up your look without sacrificing your healing progress.
Take your time. Choose the right materials. And when you’re ready, come check out our designs—we made them just for this moment 💖