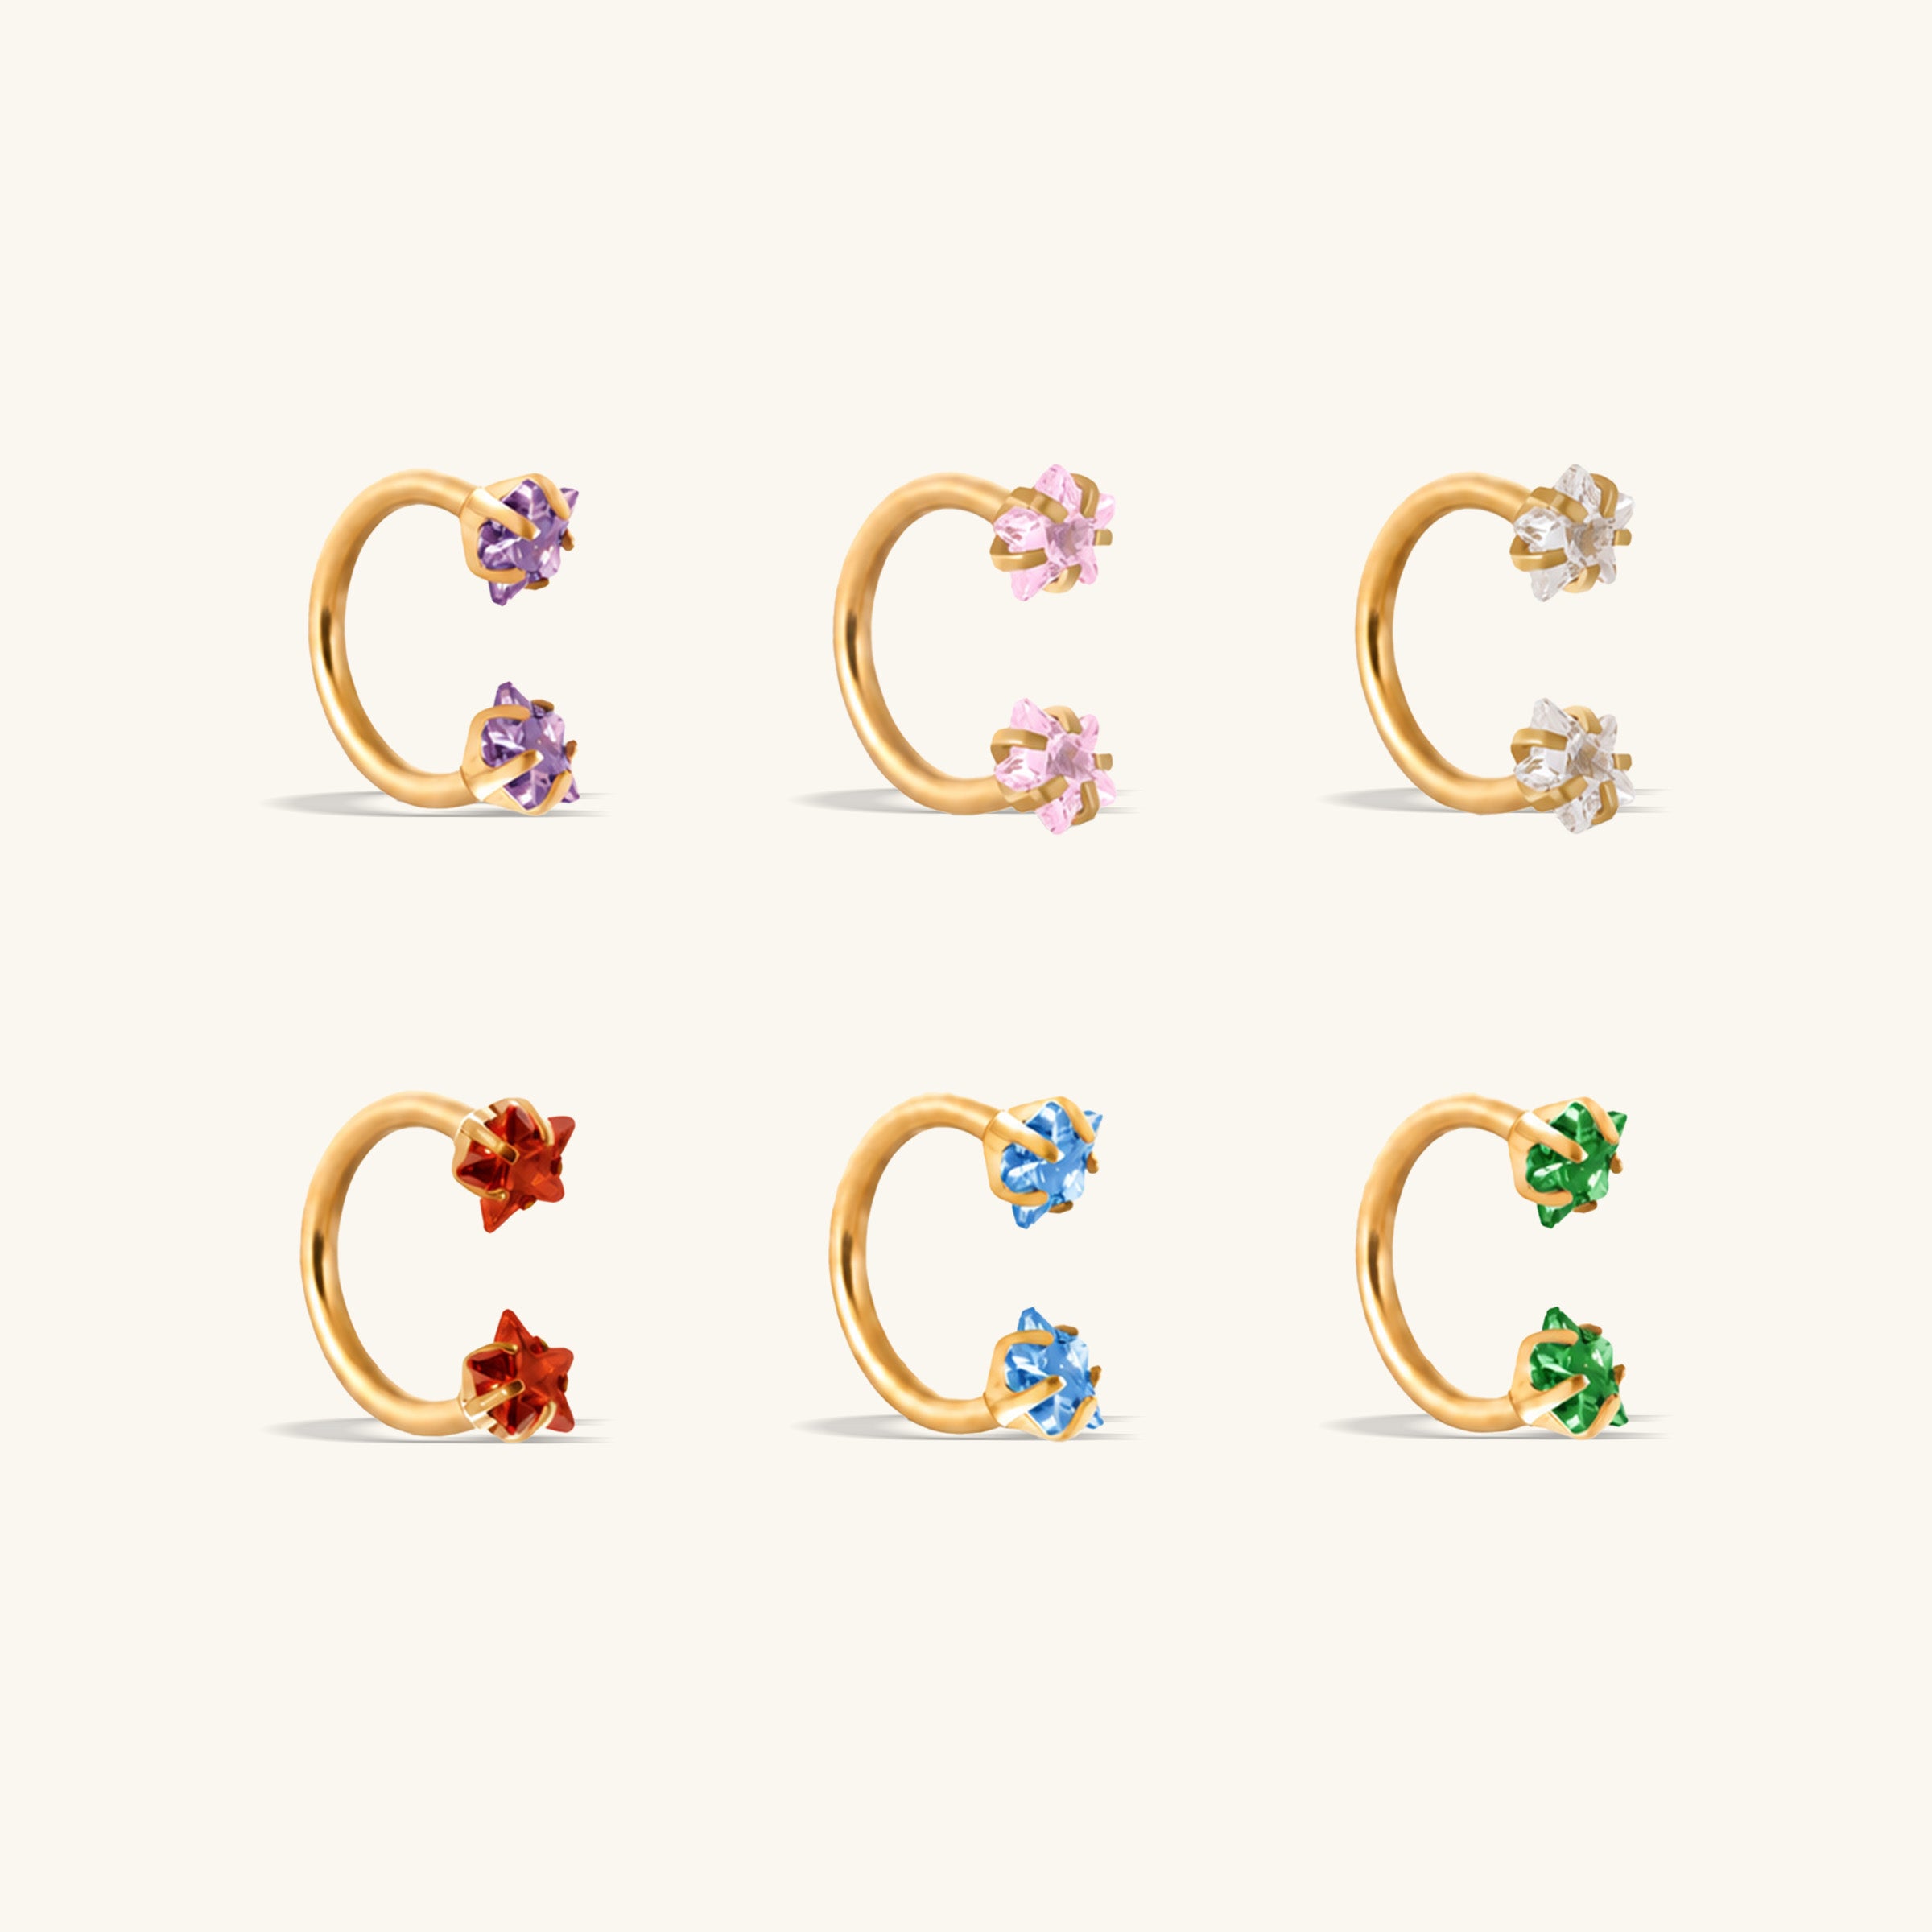
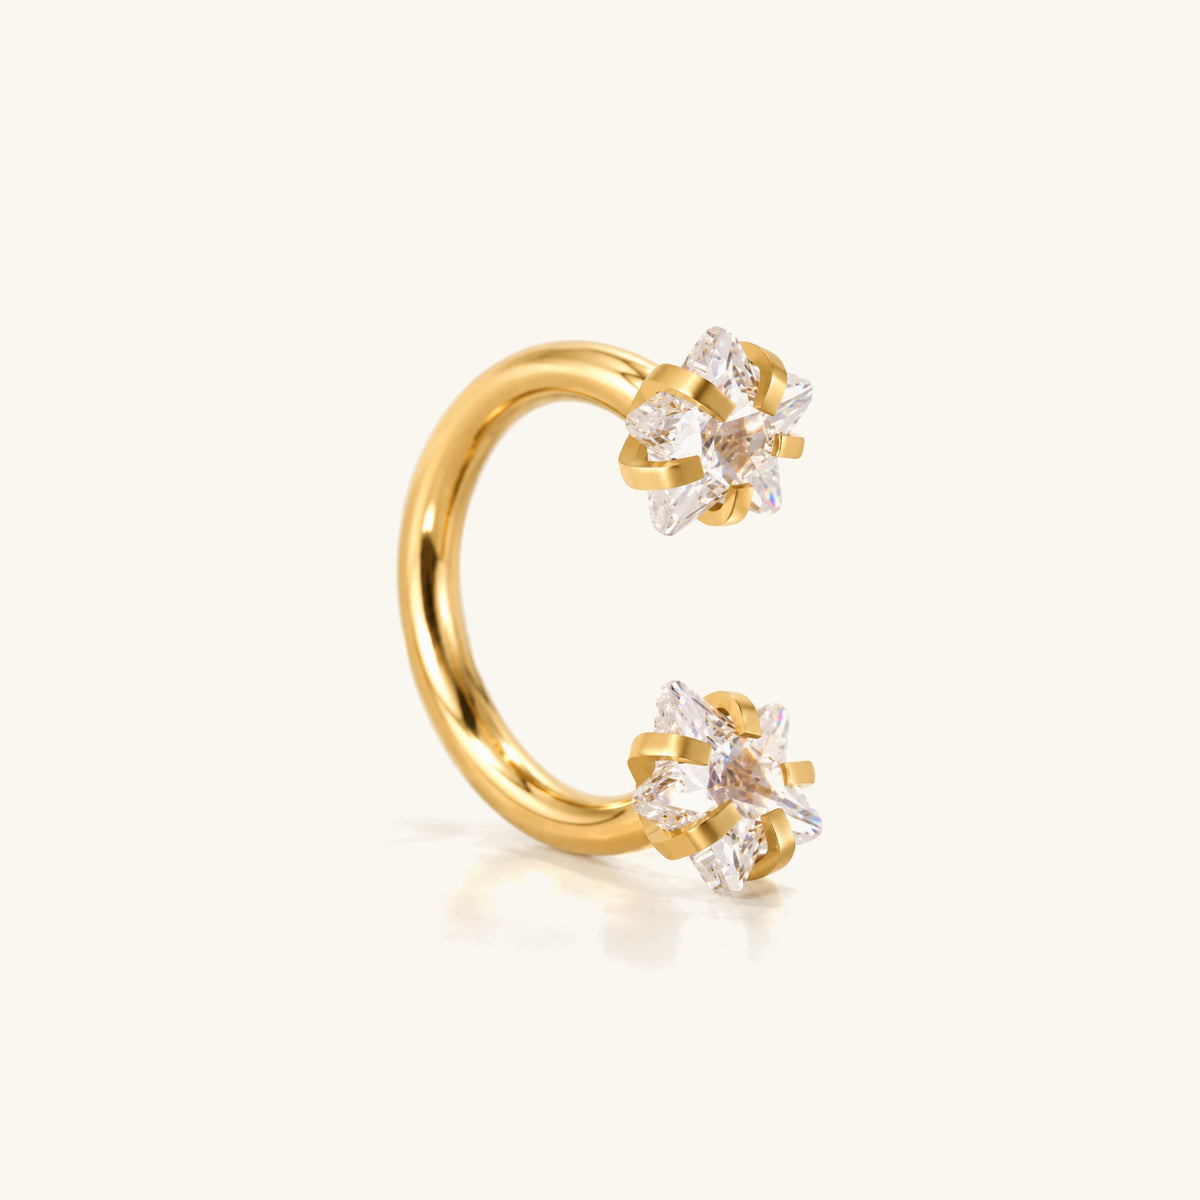
Video references
The sparkle close-up
Start on the lobe huggies and slowly pan up to the helix, ending on the little chain that links two piercings with the star drop swinging. That connecting chain is the hero — make sure it reads clearly. Add on-screen text pointing out the detail. Mention it's implant-grade titanium — comfy for everyday, safe for sensitive ears.
Shooting tips
Warm, soft light (by a window or a lamp glow) for that cosy gold look.
Slowly pan up the ear so every piece — and the connecting chain — is visible.
Let the star drop and chain catch the light and move a little.
Clip your hair fully back off the ear.
Get in close — the stack should fill the frame.
Slowly pan up the ear so every piece — and the connecting chain — is visible.
Let the star drop and chain catch the light and move a little.
Clip your hair fully back off the ear.
Get in close — the stack should fill the frame.
A different angle
Start on the lobe and slowly pan up the ear, ending on the dangle as it swings. Add on-screen text like ‘Love the sparkle of my jewelry’. 5–7 seconds is plenty — quality over length.
Shooting tips
Film in warm, soft light (a window at golden hour is perfect).
Slowly turn your head so the pieces catch the light and sparkle.
Keep the background clean and simple.
Tuck hair fully behind the ear.
Get in close — the jewelry should fill the frame.
Slowly turn your head so the pieces catch the light and sparkle.
Keep the background clean and simple.
Tuck hair fully behind the ear.
Get in close — the jewelry should fill the frame.
Piece by piece
THE IDEA
A quiet, satisfying "watch me build my ear" video. No talking, no transitions — just hands, one piece at a time, and a finished stack at the end. The reference clip shows the camera distance and pacing we want. Ignore its product (those are clip-ons) — we're showing real piercings and the hook is different: our pieces are ASTM F-136 implant-grade titanium, which is what people with reactive ears actually need.
Do: daylight, bare skin, one continuous take per piece, real hands and real piercings. Say what's true — implant-grade ASTM F-136 titanium, nickel-free, what it feels like for you.
Shooting tips
Vertical 9:16, 1080p+, film next to a window in daylight — no ring light, no overhead flash
Start on a bare ear so the before → after is obvious
Phone about 20–30cm from your ear; let the piece fill roughly a third of the frame
Film each piece going in as one unbroken shot — don't cut mid-insert
Clip your hair fully back; loose strands ruin a close-up
Slow, steady hands. If a piece is fiddly, use the applicator tool on camera — that shot always performs
No talking needed.
Shoot 3–4 takes of the final head turn so we can pick the cleanest.
Bring the look together
Reveal the hero piece last for a little payoff. Prop your phone or keep a steady hand, and use soft even lighting with no harsh shadows.
Shooting tips
Pick ONE hero piece and build the stack around it.
Add a matching accent colour (green, pink) to tie it together.
Slow, steady pan so every piece is visible.
Name the stack in your caption or on-screen text.
Add a matching accent colour (green, pink) to tie it together.
Slow, steady pan so every piece is visible.
Name the stack in your caption or on-screen text.
Talk to camera
Keep it real and unscripted — one take is fine. Mention Oumo naturally and tag @oumojewelry.
Shooting tips
Natural light, look into the lens, talk like you're telling a friend.
Show each piece as you mention it (turn, point, lift the necklace).
Say WHY you like it — comfy, doesn't tarnish, goes with everything.
End with a soft call to action.
Show each piece as you mention it (turn, point, lift the necklace).
Say WHY you like it — comfy, doesn't tarnish, goes with everything.
End with a soft call to action.
Get ready with me
Bring us into your getting-ready routine. Show your Oumo pieces up close, put them on, then reveal the finished look. Keep it relaxed and personal, with short captions or a natural voiceover.
Shooting tips
Start with a quick glimpse of the finished look.
Hold each piece still near the camera before putting it on.
Mix face-to-camera shots with clear ear and jewelry close-ups.
Tie your hair back and film in soft window light.
Finish with a slow head turn so the jewelry catches the light.
Use your own Oumo pieces and tag @oumojewelry; leave out the reference brand and old sale details.
The finishing touch
A quick getting-ready edit that shows how jewelry completes your outfit. Introduce the piece, cut to a clear wearing close-up, then step back for the full look. Keep the transitions simple and the energy playful.
Shooting tips
Film vertically with your phone in a fixed position.
Keep the product reveal short, with the jewelry clearly in focus.
Cut to a side profile with your hair pulled away from your ear.
Match your cuts to the music and keep captions minimal.
End with the finished outfit and a natural smile or movement.
Feature Oumo packaging if available, and tag @oumojewelry.
Show & tell close-ups
Let the details do the talking. Start with your Oumo pieces arranged on a simple tray, pick them up one by one, and show your favorite details. Add a conversational voiceover, then finish with the jewelry worn.
Shooting tips
Use a clean tray or neutral fabric beside a window.
Move slowly and hold each piece steady so the camera can focus.
Show details such as the charm, shape or finish from two angles.
Record your voiceover in a quiet room, describing what you personally like.
End on a wearing shot; for earrings, include a clear ear close-up.
Use only product details and any current offer confirmed by your Oumo contact.